Simple Configuration for a Stylish GNOME Terminal with Zsh
Customize your Ubuntu GNOME terminal to have a unique look using Zsh and Oh My Zsh.
Note Because this article is very old, and I can’t find the original image, so some images are missing.
If you wish to have a very stylish terminal like this:
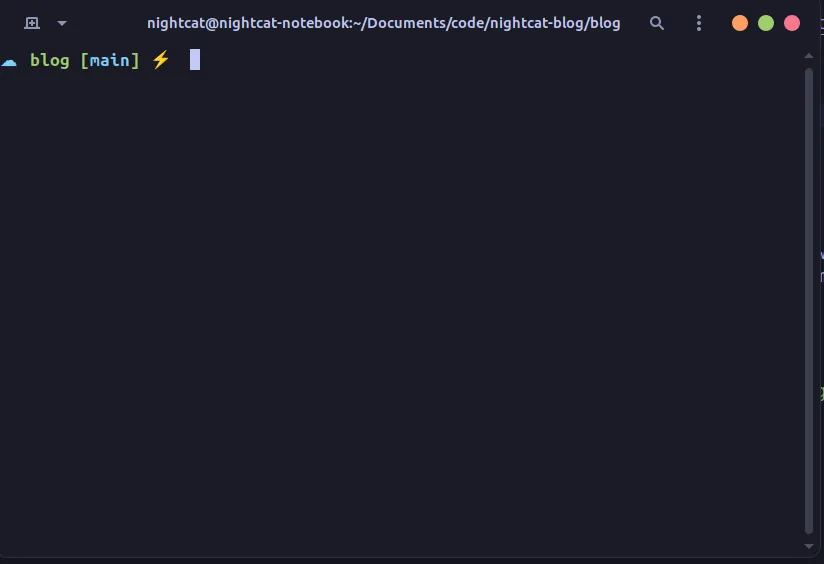 Then this article will be perfect for you!
Introduction
- The system is running Ubuntu 22.10, theoretically should work similarly on other systems.
- Demonstrations are done using VirtualBox.
- If you have already run this command due to installing other software, you can skip to Step 2.
- If you encounter errors, you can check the troubleshooting section at the bottom.
Installing Zsh and Creating Your Own Oh My Zsh
Step 1: Update the Entire System
If you have already executed this command due to installing other software, you can directly proceed to Step 2.
Update the system packages to keep the software up to date by entering the following command:
sudo apt installYou should see something similar to this upon completion:

Step 2: Install Zsh
Install Zsh on your Ubuntu system.
sudo apt install zshIf prompted with (y/n), simply type y and press Enter.
Verify Zsh Installation
To check if Zsh is installed correctly, enter:
zsh --version
Step 3: Install Curl and Git
To be able to fetch the installation files for Oh My Zsh, you need to first install curl and git. To install curl and git, enter the following command:
sudo apt install curl gitStep 4: Install Oh My Zsh
Oh My Zsh is a package that enhances Zsh for a better appearance. Enter the following command to install it:
sh -c "$(curl -fsSL https://raw.githubusercontent.com/ohmyzsh/ohmyzsh/master/tools/install.sh)"When prompted, press y.
If the installation is successful, you should see the following:

Step 5: Start Customizing Your Zsh
Now that you have successfully installed Zsh, you can start customizing!
You can find the official list of Oh My Zsh themes here
You can also find unofficial themes, but installation is more complex. We won’t cover it in this article.
Once you have found a theme you like, note down its name. For example, if I like this one, I’ll remember “cloud”.

Next, enter the following command:
nano ~/.zshrcYou will see a somewhat intimidating screen, but it’s not difficult!

First, find ZSH_THEME="robbyrussell" and replace it with the name of your desired theme.
Using the cloud theme as an example, it would be:
ZSH_THEME="cloud"
Once you’ve made the change, press ctrl+x + y + enter to save!
To reload Zsh, you can enter:
source ~/.zshrcAfter completion, you should see Zsh using your chosen theme!
Terminal Color Themes
Step 6: Install Required Packages
You can now start customizing your colors. Here, we suggest using prebuilt themes from others.
To install the necessary packages, enter the following command:
sudo apt-get install dconf-cli uuid-runtimeStep 7: Install Theme Package
To install the theme package, enter:
bash -c "$(wget -qO- https://git.io/vQgMr)"It will display a list of themes, each with a symbol and an English name. You can search online for the name of the theme you want or explore on your own.
Assuming I want to use “Tokyo Night” as my theme:

Then I’ll enter 230 (as shown in the image):

Then press Enter.
If you encounter this error, please see troubleshooting below.

Step 8: Apply Theme
First, right-click on the terminal and click Preferences.

Then click Set as default next to the name of the theme you just selected.

Close the terminal and open it again to see the theme in effect.
But you may notice that the Zsh theme is missing. This is because Zsh is not your default shell. You can see how to set it as the default shell in the next section.
Step 9: Set Zsh as Default
First, go to Preferences, and click on the theme you just set.

Then click on command at the top, check Run a custom command instead of my shell, and enter zsh in the input field below (as seen in the image below).

Complete!
That’s it! You’ve now configured your GNOME terminal theme!
To achieve the look of the image at the beginning, you’ll need to set up a GNOME theme (might write an article on that in the future!).
Troubleshooting
Error When Installing Theme Package
Right-click on the terminal and click on Preferences.
Open the window and click on the + next to Profiles and enter Default (without changing anything).

After completion, repeat Step 7.